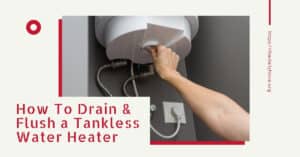
Some maintenance is essential to make sure your water heater is operating at its best. One of the most critical tasks is flushing your tank. Draining and flushing a water heater is essential because it prevents the buildup of mineral deposits inside the water heater.
Over time water heaters collect mineral deposits, silicates, lime, water scale, and other sediments settled in the bottom of your water heater. For this reason, it’s good practice to do some basic routine water heater maintenance by draining, flushing and descaling your unit to remove the sediment buildup.
Leaving sediment build up in your water heater will lead to serious problems. For example:
- Water discolouration
- Heater to run noisily
- Reduction in water heater lifespan
- Drop-in hot water quantity
- Increase in water heater operating costs
Most water heater manufacturers recommend that you flush the water heater at least once per year.
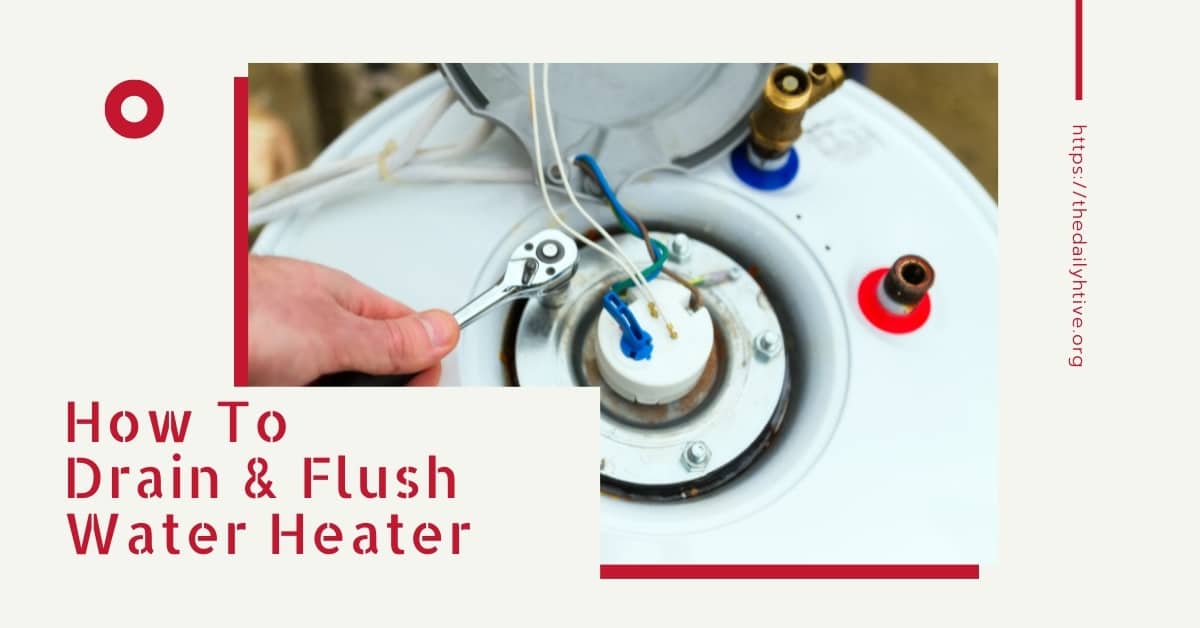
Water Heater Drain & Flush Procedure
Below we take you step-by-step through the process to drain, flush and descale a water heater.
First, turn off the power supply to your water heater to allow the water to cool inside the tank.
On an electric or oil water heater, this means turning off the electric power supply to the heater. You’ll need to turn off the gas supply to the heater on a gas water heater.
Next, turn off the cold water supply to the water heater at the water inlet shutoff valve. If the water shutoff valve is defective, in that it does not stop all the water, you’ll need to turn off the main water supply to your home.
Once you have turned off the power and water supply to the water heater, we can start draining the tank of water.
To do this, you’ll need a common garden hose. Attach one end of the garden hose to the threaded drain valve located 6 to 10 inches from the bottom of the tank. Run the other end of the garden hose to a drain, sink or anywhere you can safely allow water to drain.
Now open the drain valve to drain the tank of water. This may take up to 20 minutes to empty. To speed up the process, allow air into the system by opening up a faucet in the home.
Some manufacturers recommend removing the Pressure & Temperature Relief Valve (TPR), which will allow you to also inspect the TPR for limescale buildup and clean it if necessary.
You’re most likely to see some sediment and discoloured water drain out of the hose.
Once you’ve completely drained the tank, you can remove the drain valve to inspect it to see if it is clear of sediment. You can clean both the drain valve and the TPR by soaking in vinegar.
You are now ready to start the process of flushing the water tank to clear it of sediment, limescale and other deposits.
Flushing & Cleaning Water Heater
At this point, you have drained the tank of water.
Close off the drain valve and re-open the water shutoff valve to fill the tank. Allow it to fill for a few minutes. Then open up the valve to allow the water to flush through the tank. Continue to allow water to flush until the water turns clear.
Suppose you see limescale flakes or evidence of clogged up TPR or drain valve. In that case, you’ll most likely need to use the manufacturers’ recommended delimer or physically scrape the bottom of the tank to remove excess scale.
We do not recommend that you attempt using a delimer unless it is a specific chemical recommended by the manufacturer, as anything else can be potentially dangerous. Please refer to the instructions manual for your make of water heater.
Once you have satisfactorily removed excess lose limescale, open the water supply shutoff valve and close the drain valve. Refill the tank slowly to prevent loose debris from clogging up the shutoff valve or faucets in the home.
Before turning the water heater on, bleed the tank of any trapped air by opening up a faucet in the home and running for a few minutes to allow air to escape.
If you have a faucet strainer, it is best to remove it in case debris is still in the system. Replace the strainer once you’re satisfied that you have removed any trapped air.
You can now turn on the water heater.
You have now completed all the steps on how to drain and flush a water heater easily and safely. Taking the time to flush your water heater will operate efficiently and prolong the lifespan of your heater. If you don’t feel confident flushing your water heater yourself, call a professional technician to make sure it is done right.