Tankless water heaters typically need flushing at least once every year. Possible every 6 months, depending on the hardness of your local water and the amount of usage of your water heater. Regular tankless water heater flushing will help prevent potentially damaging large buildup of sediments, such as limescale.
Tankless water heaters have increasingly become a popular heating choice. They are cheaper and more efficient to run. Tankless models only require less space and heat water when needed.
Just like traditional water heaters, tankless models will also be exposed to sediment buildup and harsh minerals. A tankless water heater needs to be flushed at least once a year to ensure the unit has optimal performance and efficiency.
Follow this simple process on how to flush a tankless water heater.
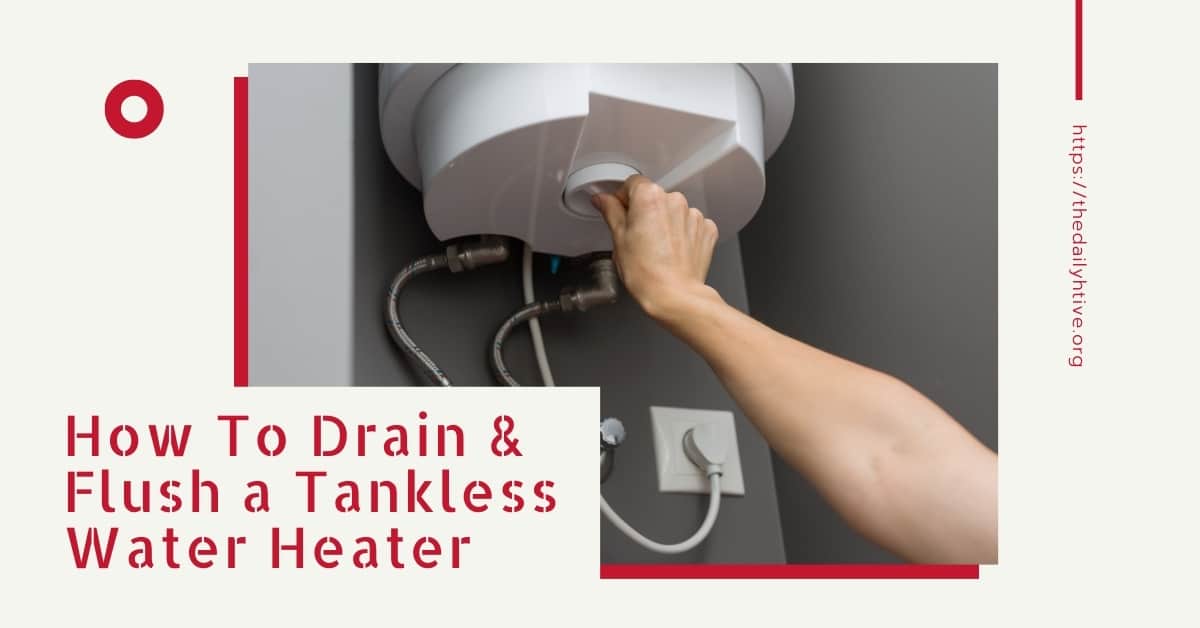
How to Flush a Tankless Water Heater – Step-by-Step Guide
To flush your tankless water heater, you’ll need:
- Two 2 metre length garden hoses
- A sump pump
- A 5-gallon bucket filled with approximately 3 gallons of white vinegar
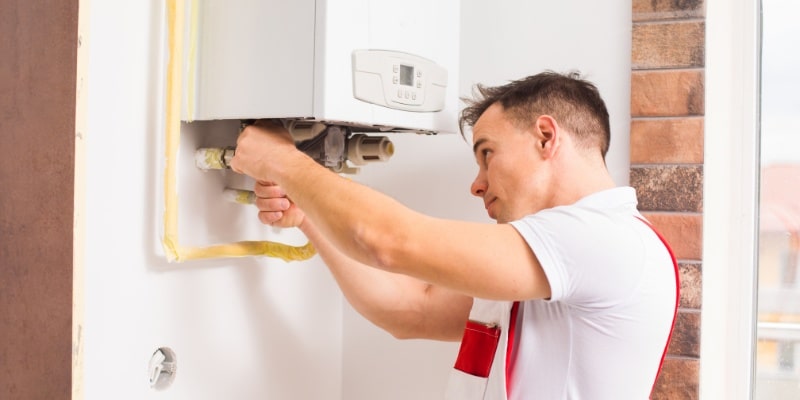
The procedure for flushing a tankless water heater is slightly different from flushing a traditional water heater. Here’s what you need to do.
Step 1: Power Down
First things first, turn off the power source. If it’s electric, switch it off from your breaker box. For gas heaters, turn the thermostat to the ‘pilot’ setting. Safety always comes first, and this step ensures a secure working environment, free of unexpected power surges.
Step 2: Shut Off the Water Supply
Next, locate the water shut-off valve and turn it off. You’ll want to stop water from flowing into the unit while you’re working. It’s like trying to empty a bucket while it’s still under the tap – not helpful!
Step 3: Prepare the Valves
Your heater has three valves: hot, cold, and gas. Close the gas valve if you’re using a gas system to prevent any leaks. For the water valves, you’ll be manipulating them quite a bit. Ensure they are in the correct positions to allow for proper flushing.
Step 4: Connect the Hoses
This step might make you feel like a surgeon connecting organs. You’ll attach hoses to both the hot and cold water valves. The other end of the cold water hose should be connected to your submersible pump, while the hot water hose should aim into your bucket or drain. Precision here prevents a watery mess later.
Step 5: Flush With Vinegar
Here’s where the magic happens. With your pump submerged in your vinegar or solution, turn it on. This liquid wizardry will circulate through your unit, breaking down the mineral build-up. Let it work its magic for at least 30 minutes, but for a thorough clean, consider running it for an hour.
Step 6: Clean the Filter
While the solution is doing its job, take a moment to clean the in-line water filter, which can also get clogged with debris. It’s usually a small cylinder along the water line. Unscrew it, and give it a good rinse, or replace it if it’s seen better days.
Step 7: Reconnect and Power Up
You’re almost there! Once the flushing is complete, remove the hoses and restore the original setup. Turn the water supply back on and power up your unit. For gas heaters, relight the pilot light if necessary.
Post-Flushing Steps
Now, check for any leaks or unusual sounds. Turn on a hot water tap somewhere in your house and let it run for a few minutes, ensuring the water is running smooth and steady.
Some models require a reset after maintenance. Refer to your manual for specific instructions on this step. Resetting ensures your heater starts fresh, like a computer, after an update.
Your tankless water should now be thoroughly clean and ready for use for another 6 to 12 months.
Signs Your Tankless Water Heater Needs Flushing
Recognizing the warning signs that your tankless water heater needs flushing is crucial in maintaining its performance. Let’s delve deeper into these symptoms:
Decreased Hot Water Temperature
One of the most noticeable signs that your tankless water heater needs attention is a sudden inability to produce the same hot temperatures it once did. If you find that what used to be a scalding hot shower now seems lukewarm, it clearly indicates that mineral deposits have built up within the heating elements.
These deposits act as a barrier between the burner and the water, making the system work harder to reach the desired temperature, often failing to do so adequately.
Strange Noises Coming from the Heater
Are you hearing rumbling, cracking, or popping sounds from the water heater? Such noises are not part of its normal operation. Instead, they’re often the soundtrack of mineral deposits breaking off and moving around within your system.
These sounds result from water finding its way around the deposits or the expansion and contraction of the deposits themselves during the heating cycles. It’s the heater’s way of crying out for a cleanse.
Longer Wait Times for Hot Water
Speed is a virtue of tankless water heaters – you turn on the tap, and hot water should be there almost instantly. But when minerals gunk up the works, you might notice it takes longer than usual for the water to heat up. These deposits affect the water flow, making the heater less responsive.
They might be clogging the flow sensor, making the heater slow to kick on, or reducing the water’s contact with the heating elements, resulting in frustrating delays.
Fluctuating Water Temperatures
If you experience sudden changes in water temperature, shifting from hot to cold, without adjusting the faucet, you’re likely dealing with a struggling water heater. The erratic temperatures are caused by restricted heat transfer efficiency, where the water can’t consistently maintain contact with the heat exchanger due to mineral buildup.
Low Water Pressure
Mineral deposits don’t only affect temperature; they can also reduce water pressure. If the minerals have started solidifying, they can obstruct water flow through the pipes.
You might notice this as a decrease in water pressure when you shower or use your faucets. It’s especially concerning because it can strain your pump and other components.
Visible Signs of Mineral Deposits in Water Fixtures
Lastly, if you see visible chalky deposits on your faucets or showerheads, that’s a definite red flag. These are the same minerals building up inside your water heater, and their presence suggests a significant sediment level in your system.
Each sign indicates a tankless water heater silently struggling against the relentless tide of mineral accumulation. They’re all symptoms showing that your appliance can’t operate efficiently and desperately needs a thorough flush. Regular maintenance, including flushing, can prevent these issues, ensuring your tankless water heater remains an efficient, reliable source of hot water in your home.
And there you have it – a step-by-step guide to flushing your tankless water heater. Regular maintenance like this might feel like a chore, but it’s key to keeping that hot water flowing when you need it most. So, the next time your water isn’t heating like it used to, you know what to do.
Always check the user manual, as it may have specific instructions to flush and descale a tankless water heater. If you don’t feel confident flushing a tankless water heater yourself, call a plumbing repair to get the job done.