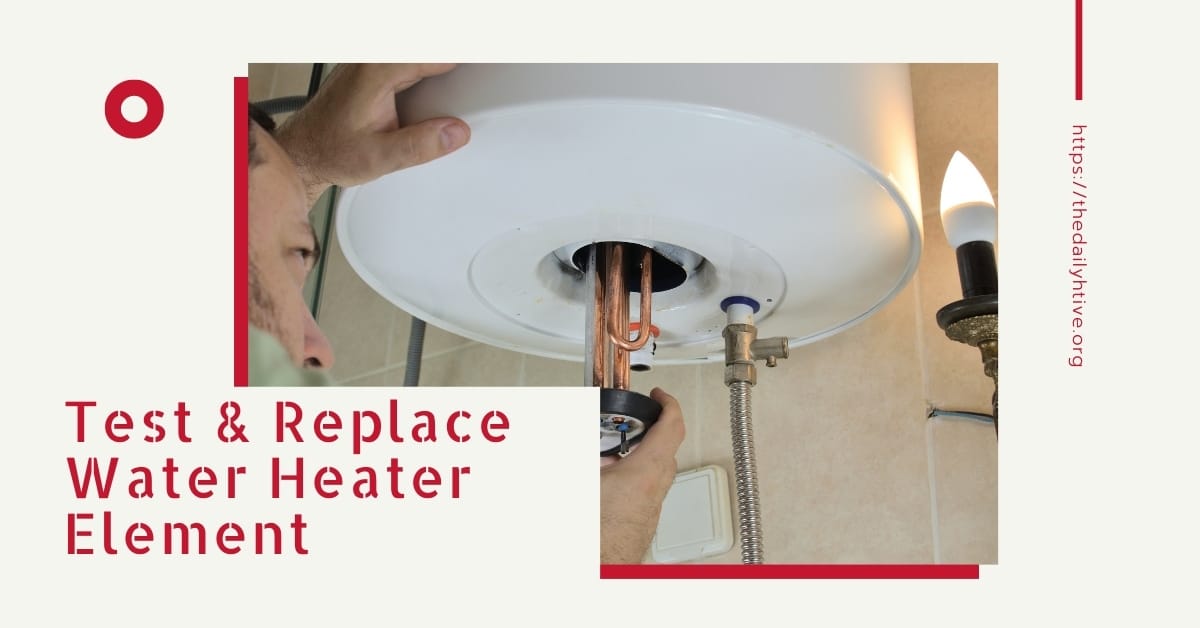
A common cause for electric water heaters not producing hot water is a defective water heater element. The heating element can fail sooner than the water heater itself. A water heater element replacement is a simple and cheap repair that extends your water heater’s life for many more years.
Electric water heaters rely on heating elements to heat the water. Since this part is the most common cause of water heater issues, this article will look at how to test a water heater element and what you can do to fix it.
Signs of a Faulty Water Heater Element
If your water heater is showing the below signs, the chances are that repair work is needed to one or more of the 2 water heater elements.
- slow to heat up
- runs out of hot water more quickly than usual
- no hot water at all
How to Test The Water Heater Element
Before you begin to test the water heater elements, you should first check to see no other possible causes for your home’s lack of hot water.
A simple check of the circuit breaker will determine whether the lack of hot water is due to the breaker being tripped. You can also reset the high-temperature cut-off switch above the upper thermostat.
Suppose you find that hot water runs out after only one shower or less. In that case, the possibility is that the lower water heater element has shorted and needs replacing.
By undertaking the above 2 simple checks (check the breaker and reset the temperature cut-off), you may find that it fixes the problem. However, you should note that since the circuit breaker tripped, for example, this may indicate an electric problem with the water heater.
So if you find that the problem repeats itself, you may want to test the water heating elements.
How to test a water heater element: A step-by-step guide:
1# Turn the Power OFF
Before you start testing the Elements, you will need to turn the power to the water heater to the OFF position. Turn the power off at the circuit breaker for the water heater.
To check that the power is off, use a non-contact voltage detector and test the electric wires feeding into the top of the water tank that runs down to the high-temperature cut-off switch. If the tank still has a power feed, the voltage detector will light up or beep.
It’s also a good idea to check that the voltage detector is working correctly by testing an outlet that has power.
2# Remove Metal Thermostat Cover at the Side of the Water Heater
There are 2 water heater elements in your water heater—one near the top and the other near the bottom.
To access the upper and lower thermostats and heater elements, remove the 2 metal thermostat covers/plates at the top of the tank and the other positioned close to the bottom of the water tank. Once you remove the metal plates, remove any insulation to access the thermostats.
Next, disconnect the wires from the terminal screws.
3# Test the Water Heater Elements – Broken or Shorted?
You will need to test both top and bottom water heater elements.
For this, you will need a continuity tester, which is essentially a light bulb with a battery and 2 wires attached. Placing the 2 wires of a continuity tester to a continuous circuit will cause the bulb to light.
Use the continuity tester to check if the water element is broken or shorted. Electricity will not flow through a broken element, so if the light bulb lights up, it tells you that the element is still good.
- Broken Element Test
Attach one wire on your voltage detector to one terminal element screw and the other wire to the second terminal element screw. It should light up. - Shorted Element Test
Check to see if the element has been shorted with a multimeter.
How To Test The Water Heater Element With A Multimeter?
- Set your multimeter to the lowest setting for ohms of resistance.
- This test requires that you connect one probe on your multimeter to one terminal element screw and the other to any part of the metal frame of the terminal element. If the multimeter needle does not move, the water heater element is bad and must be replaced.
- Perform the same test on the second terminal element screw (you will see that there are 2 terminal screws) as described above.
Perform both broken elements and shorted element tests to the top and bottom water elements in your water heater.
How to Replace a Water Heater Element: A Step-by-Step Guide
After undertaking the water heater element tests set out above, the elements are good. The problem could instead be a faulty cut-off switch or the thermostat.
If you notice a faulty water heater element, you may want to replace it. It’s relatively easy. If you’re comfortable with electrical work, replacing the heating element is an easy DIY job.
Here is the step-by-step guide:
- Turn off the Electric Power and the Water Supply
Turn off the power from a circuit breaker – close the cold-water inlet valve. - Drain the Tank
I have explained this here: How to Drain and Flush Water Heater. - Access the Heating Element
Find the access cover panel and remove it. - Remove the Heating Element
Disconnect the wires from the element – unscrew the old element. On the flange-type model, remove the screws and gasket, then pull the element. - Install the New Heating Element
Install the new element and tighten it – reconnect the wires.
Of course, replacing the water heater elements will be significantly less expensive than replacing the entire water heater. A water heater element price is between $10 and $50 and can be found at most home improvement stores.
However, bear in mind that typically, the lifespan of a good water heater is approximately 10 to 15 years. If your water heater is approaching the end of its typical lifespan, you may want to consider speaking with an expert technician. Getting a replacement water heater will be more cost-effective in the long term than making simple repairs to an old water heater, such as replacing the heating elements.


