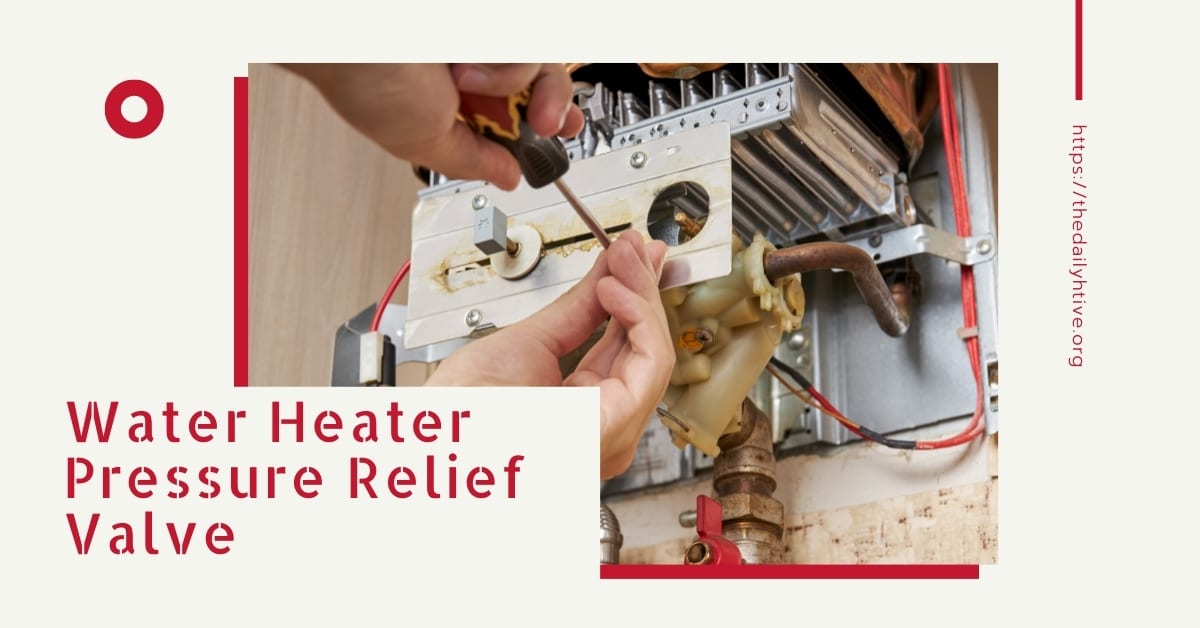
A water heater temperature and pressure (T&P) relief valve is a critical control feature to ensure against over temperature and pressure in your water heater. This part releases excess pressure build-up from within the tank in the event of too much hot water. If the valve fails, your tank could potentially explode. This post will show you how to test and replace a T&P relief valve in the water heater.
It is a huge security measure when the water heater relief valve fails. If it does fail, you should not use it until it has been replaced with the right substitution. By no means, you ought to have the valve supplanted with any different specs to your previous TP valve unless the manufacturer has given full approval.
TIP! T&P relief valve should be replaced once a year.
This is why safety should be taken care of when the dealing and maintaining a water heater and why it’s so important to have a working TP valve.
How to Test a Water Heater T&P Relief Valve
There are a few basic tests to perform to confirm that your pressure relief valves are faulty.
You can test to see if there is any heat coming from the overflow pipe. The pipe should cool if it is warm; this is one sign of a faulty water heater relief valve. If you have a water heater pressure relief valve leaking, then this is a clear sign that it will need to be replaced urgently.
In the second water heater relief valve test, you will need to open the TP valve. Be careful as water will be released from it, and it can be very HOT! once you open it and there is no water, then this is a sure sign of a faulty water heater relief valve, and you will need maintenance very urgently.
The T&P Relief Valve is located at the top section of the water heater and ought to have the temperature probe pointing down around 6 inches into the water. Inability to correctly replace the water heater pressure relief valve will leave a very dangerous situation. If you’re not comfortable with this, then you should let a professional handle the installation and replacement.
How to Replace a Water Heater T&P Relief Valve
Before starting any water heater pressure relief valve replacement process, as you know from following my other articles, I always recommend the following safety procedures. Turn off all your electricity to the water heater, turn your water supply off, and your gas supply.
Follow the below steps to replace your leaking water heater pressure relief valve.
- Drain the water tank. It should be below the TP lever. You can do this by opening your tape to release the pressure and reduce the water from within the tank.
- Remove the discharge tube that is connected to the valve. It usually extended to about 6 inches from the floor.
- Open the TP Lever. This will reduce pressure, and if you have an older copper pipe attached to it, you will need to unscrew the pipe. Turning it counter-clockwise to loosen it slowly, water could start to come out. At this point, tighten it back up and remove more water via opening the tap in the sink or bath.
- Once removed, you can then use pipe-thread tape or joint compound on the threads of the new Pressure Relief Valve and screw it into its location and use a wrench to ensure it is tight. The outlet needs to be facing the overflow drainpipe.
- Close your running tape if it is still open, and you can then turn on your mains water supply, electric and gas relight the pilot light.
Once all has been completed, you can heat the water and, for safety, perform another water heater pressure relief valve test to make sure everything is working as it should be.
Why is my hot water heater pressure relief valve leaking after replacement? This means there is a problem with the water heater tank.
However, if you find the water heater relief valve continues leaking even after replacement, you should contact a professional technician for help. A licensed technician will be able to evaluate your entire water heater system, perform a T&P relief valve test, and/or replace the valve for you.


