Baseboard heaters are a popular choice for providing supplemental or primary heat in homes, especially in colder climates. They’re relatively inexpensive to install and operate, and they provide consistent, even heat. If you’re considering adding or replacing a baseboard heater, this friendly guide will walk you through the process of hooking one up, ensuring you stay warm and comfortable all winter long.
Before we dive into the installation process, let’s briefly understand how baseboard heaters work. These heaters use electricity to warm heating elements inside a metal enclosure. The heat rises naturally (convection), warming the air near the floor and circulating it throughout the room.
There are two main types:
- Electric Baseboard Heaters: These are the most common type, directly powered by your home’s electrical system.
- Hydronic Baseboard Heaters: These use hot water circulated through pipes to provide heat.
This guide focuses on electric baseboard heaters, as they are more common for DIY installation. Now, let’s get to the installation process.
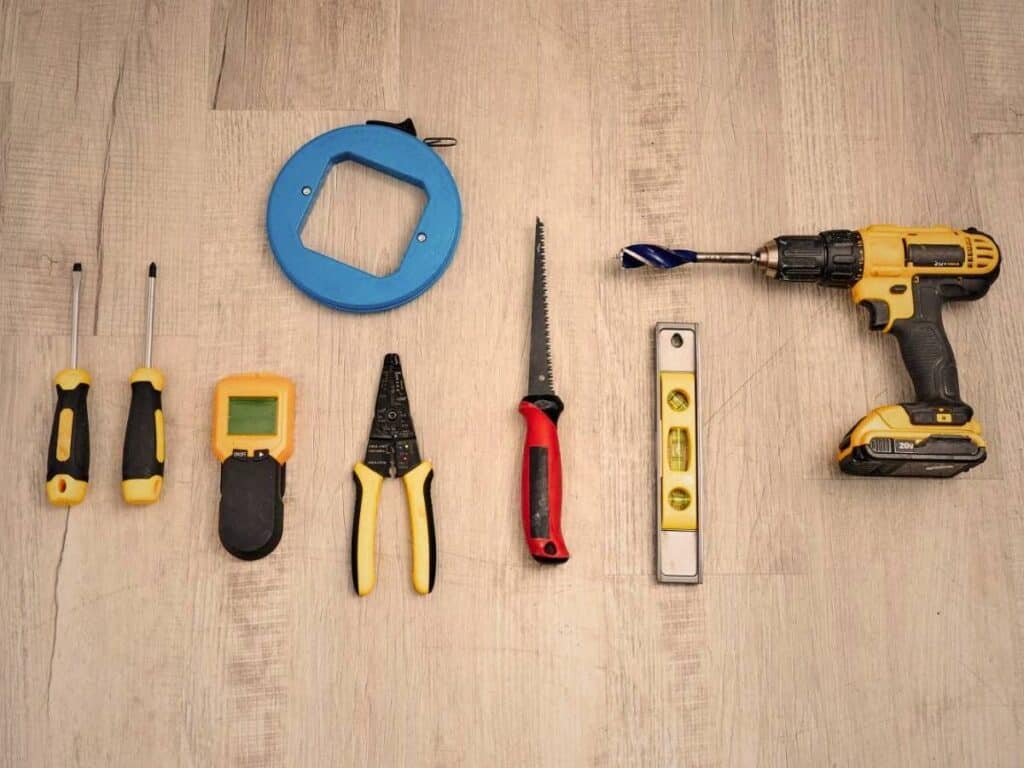
1. Gather Necessary Tools and Materials
- Baseboard heater
- Thermostat (line-voltage, if applicable)
- Electrical cable (appropriate gauge based on the heater’s wattage and circuit)
- Wire nuts
- Screwdriver
- Voltage tester
- Drill (if mounting on drywall)
- Circuit breaker (if adding a new circuit)

2. Turn Off Power
Switch off the power at the breaker panel to ensure safety. Use a voltage tester to confirm that the circuit you’ll be working on is not live.
3. Choose a Location
- Install the heater along an exterior wall, ideally under a window, to counteract drafts.
- Ensure there’s at least 12 inches of clearance from curtains, furniture, and other obstructions.
4. Mount the Baseboard Heater
- Use the heater’s mounting brackets to secure it to the wall.
- Drill pilot holes into the wall and attach the heater with screws.
- Ensure it’s level and securely fastened.

5. Connect Electrical Wiring
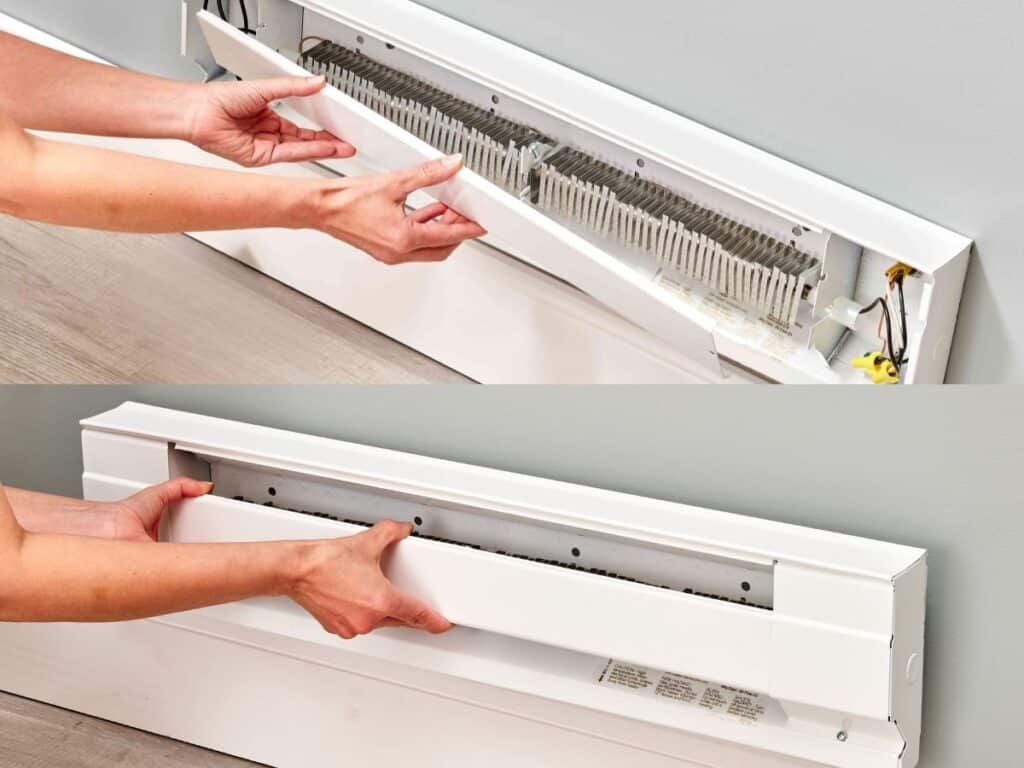
- Open the Heater’s Wiring Compartment
Locate the wiring compartment, usually on one end of the heater, and remove the cover plate.
- Run Electrical Cable
Run the electrical cable from the circuit breaker panel (or junction box) to the heater’s wiring compartment.
- Connect Ground Wire
Attach the green or bare copper ground wire to the heater’s grounding screw.
- Connect Hot Wires
- If connecting a 240-volt heater:
- Connect the two hot wires (usually black and red) from the electrical cable to the corresponding wires in the heater using wire nuts.
- If connecting a 120-volt heater:
- Connect the black hot wire to the heater’s black wire, and the white neutral wire to the heater’s white wire.
- Secure Wires
Use wire nuts to secure all connections and tuck the wires neatly into the compartment.
6. Wire the Thermostat (If Applicable)
- Wall-Mounted Thermostat:
- Run the electrical cable from the breaker panel to the thermostat box, then to the heater.
- Follow the thermostat’s wiring diagram to connect the hot wires and ground.
- Built-In Thermostat:
- Connect the thermostat wires directly to the heater’s wiring as instructed in the manufacturer’s guide.
7. Test the Circuit
- Restore power at the breaker panel.
- Turn the thermostat to the desired temperature and check if the heater operates correctly.
- Use a voltage tester to confirm that the circuit is properly energized.
Proper planning is essential for a successful baseboard heater installation. Here are some key factors to consider:
- Placement: Baseboard heaters are most effective when placed along exterior walls, ideally beneath windows. This helps counteract heat loss through the windows. Avoid placing furniture directly in front of the heaters, as this will block airflow and reduce efficiency.
- Wattage: Baseboard heaters are rated in watts per foot. You’ll need to calculate the appropriate wattage for your room based on its size and insulation. A general rule of thumb is 10 watts per square foot, but this can vary depending on your climate and home’s insulation. Consult a professional or use online calculators for a more accurate estimate.
- Electrical Circuit: Each baseboard heater requires its own dedicated circuit. This means it needs a separate breaker in your electrical panel. Ensure your electrical panel has sufficient capacity for the new heater. If you are unsure about your home’s wiring or electrical panel capacity, consult a qualified electrician.
- Thermostat: You’ll need a thermostat to control the heater. You can use a standard wall-mounted thermostat or a built-in thermostat on the heater itself.
Safety Tips
- Always follow local electrical codes and regulations.
- Use the correct wire gauge based on the heater’s wattage and circuit amperage (e.g., 12-gauge wire for a 20-amp circuit).
- Avoid overloading the circuit by ensuring the heater’s wattage doesn’t exceed the breaker’s capacity.
When to Call a Professional
- If you’re unfamiliar with electrical work or local codes.
- If you need to install a new circuit from the breaker panel.
- If you experience any issues during testing or operation.
Tools You May Need
- Wire stripper
- Drill and bits
- Screwdrivers (flathead and Phillips)
- Voltage tester
- Electrical tape
By following these steps, you can safely hook up a baseboard heater and ensure efficient operation. If in doubt, consult an electrician to verify your work and compliance with local codes.


