Testing a capacitor in your AC unit is an important step if you’re facing issues like a humming compressor, a fan that won’t start, or your AC isn’t cooling as it should. Capacitors play a crucial role in starting the motors in your system and keeping everything running smoothly. Let’s walk through how to test an AC capacitor with a multimeter, along with some handy safety tips and extra info to help you tackle any capacitor-related problems you might encounter.
What tool is used to test AC capacitor?
- A digital multimeter with a capacitance testing function (often denoted by the “F” or “µF” symbol)
- An insulated screwdriver (for discharging the capacitor)
- Safety gloves and eye protection

Safety Precautions
Testing a capacitor can be dangerous if not done properly, as capacitors store electrical charge even after the power is off. Follow these steps carefully:
- Turn Off Power: Shut off the power to the AC unit at the main breaker panel and verify there’s no electricity running to the system.
- Discharge the Capacitor: Capacitors hold an electrical charge even after cutting power. Before handling, discharge the capacitor by shorting the terminals with an insulated screwdriver. This step is crucial to avoid electric shock.
Step-by-Step Guide to Testing the Capacitor
Step 1: Locate the Capacitor
Most capacitors in an AC unit are housed within the condenser unit outside. Once the power is off, remove the screws on the access panel to reach the capacitor. Capacitors in AC units are typically cylindrical or oval-shaped and have two or three terminals labeled as C (Common), HERM (Hermetic for the compressor), and FAN.
Step 2: Discharge the Capacitor
With power completely disconnected, discharge any remaining electricity stored in the capacitor. Use an insulated screwdriver to touch both terminals simultaneously, safely releasing the stored charge.
Step 3: Remove Wires from the Capacitor
Disconnect the wires attached to the capacitor’s terminals. Note which wire is connected to which terminal (e.g., Common, Hermetic, or Fan), or take a picture to ensure proper reconnection later. This step ensures accuracy during reassembly.
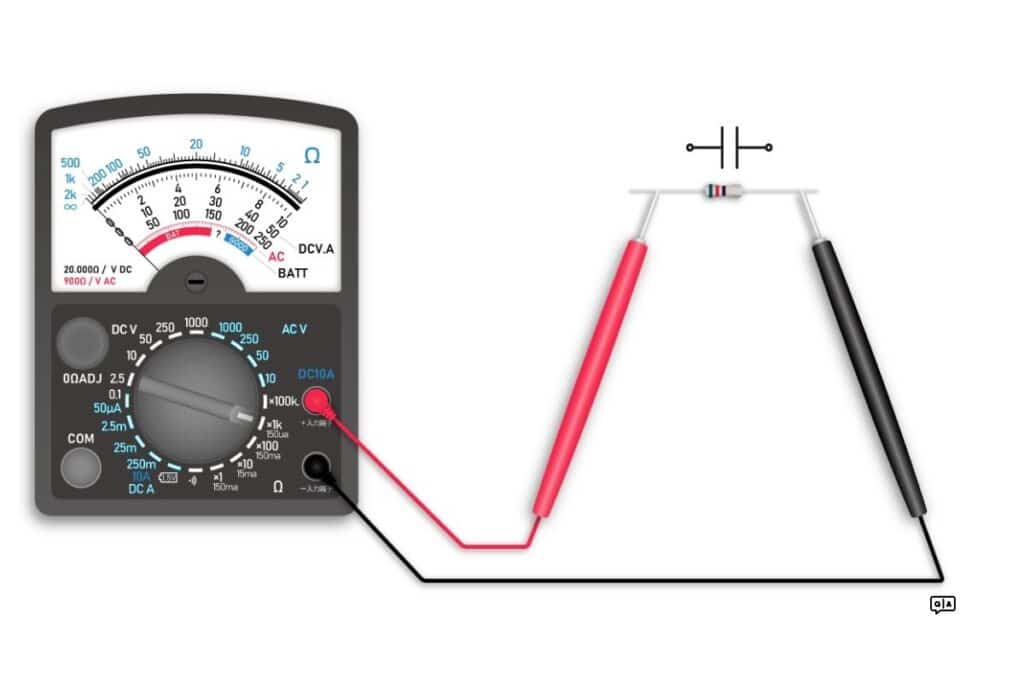
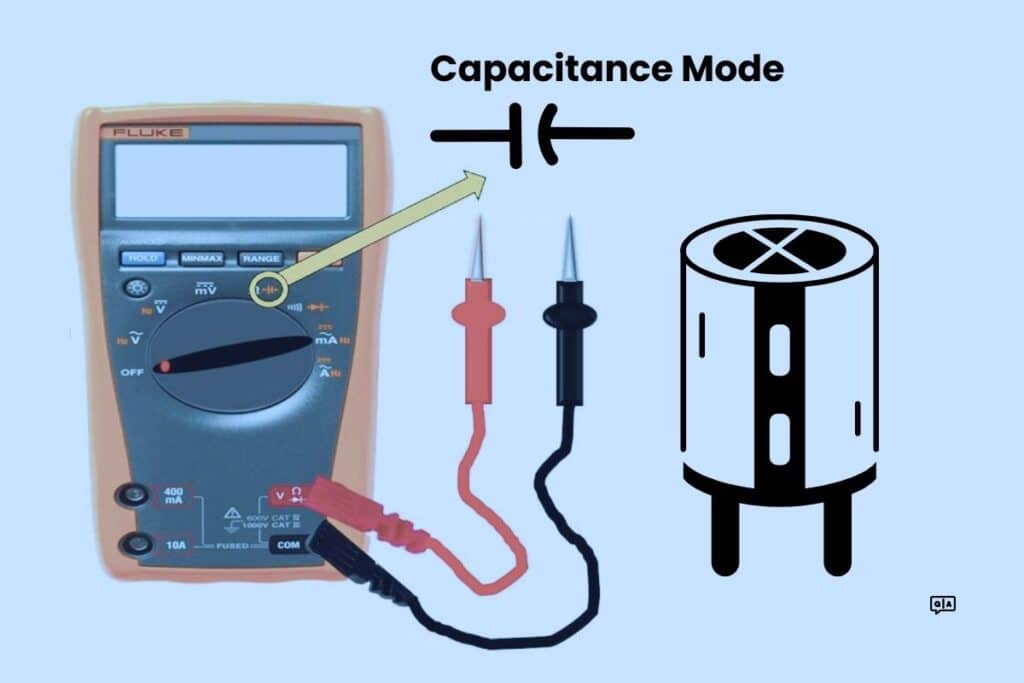
Step 4: Set Your Multimeter to Capacitance Mode
Turn on your digital multimeter and set it to capacitance mode (µF). Capacitance is usually denoted by a “C” symbol or “µF” on the multimeter.

Step 5: Test the Capacitor
Touch the multimeter probes to the capacitor terminals:
- If it’s a dual-run capacitor (usually serving both the compressor and fan), place one probe on the C (Common) terminal and the other probe on HERM to test the compressor side.
- To test the fan side, move the second probe from HERM to the FAN terminal, keeping the first probe on C.
Step 6: Check the Readings
Compare the capacitance reading on the multimeter to the rating printed on the capacitor. The capacitance rating, usually in microfarads (µF), is generally stamped on the side of the capacitor (e.g., 40/5 µF for a dual-run capacitor, where 40 µF is for the compressor and 5 µF for the fan).
- Acceptable Range: Capacitors usually have a ±6% tolerance range. For example, a 40 µF capacitor could read between 37.6 and 42.4 µF and still be considered functional.
- Failed Capacitor: If the reading is significantly below or above the rated capacitance (outside of tolerance), the capacitor is faulty and needs replacement.
Step 7: Reassemble and Restore Power
If the capacitor tests within an acceptable range, reconnect the wires to their respective terminals and reassemble the access panel. Restore power to the AC unit. If the capacitor reading was out of range, replace it with a new one of the same specifications.
What is an indication of a faulty capacitor?
A failing capacitor can cause various symptoms in your AC unit, including:
- Humming Noise: If you hear a humming noise when the AC unit tries to start, it’s often due to a weak capacitor.
- Fan Not Spinning: The fan motor might struggle to start or spin slower than usual if the fan capacitor fails.
- AC Not Cooling Properly: A faulty compressor capacitor may prevent the compressor from starting, causing the AC to run without cooling.
- Unit Shutting Down: If the capacitor fails, the AC may turn on briefly and then shut down because it can’t maintain motor operation.
What are 3 common faults with AC capacitors?
Capacitors typically degrade over time, but several factors can accelerate this process, including:
- Age: Capacitors lose efficiency as they age, so units over 10 years old are prone to capacitor issues.
- Heat: High temperatures can cause capacitors to fail prematurely, especially if your AC unit is exposed to direct sunlight or high outdoor temperatures.
- Voltage Fluctuations: Power surges or fluctuations can damage capacitors, especially during thunderstorms or in areas with an unstable power supply.
Additional Tips for Replacing a Capacitor
If your capacitor is faulty, replacing it is usually a straightforward process:
- Buy a Matching Capacitor: Make sure to get a replacement with the same capacitance (µF) and voltage ratings as the original. Using a capacitor with the wrong rating can damage your AC system.
- Double-Check Specifications: If it’s a dual-run capacitor, ensure the compressor and fan ratings match the old one.
- Mount the New Capacitor Securely: Place it in the same position as the old capacitor, ensuring it’s mounted securely to prevent movement or damage.
Testing and potentially replacing a capacitor on an AC unit requires careful attention to safety and accuracy. If you’re unsure or uncomfortable performing these steps, it’s best to contact a licensed HVAC technician, as they have the tools and experience to safely handle capacitor testing and replacement.


