Heat pumps are efficient heating and cooling systems, but like any mechanical system, they can experience issues. One common concern is the refrigerant level. Refrigerant is the lifeblood of your heat pump, responsible for absorbing and releasing heat. A low refrigerant level can significantly impact performance. This friendly guide will explain how to understand if your heat pump might be low on refrigerant and why directly checking it is best left to professionals.
Refrigerant circulates through your heat pump, absorbing heat from one location and releasing it in another. In heating mode, it absorbs heat from the outside air and releases it inside your home. In cooling mode, it absorbs heat from inside your home and releases it outside.
A proper refrigerant charge (the correct amount of refrigerant) is crucial for efficient operation. Too little refrigerant reduces the system’s capacity to heat or cool effectively.
Why You Shouldn’t Directly Check Refrigerant Levels
While you can check things like air filters yourself, refrigerant is a different story. Here’s why you shouldn’t attempt to check refrigerant levels yourself:
- Specialized Equipment: Checking refrigerant levels accurately requires specialized tools like gauges and manifolds, which most homeowners don’t have.
- EPA Regulations: Refrigerants are regulated by the Environmental Protection Agency (EPA) due to their potential environmental impact. Handling refrigerant requires certification.
- Safety Concerns: Improper handling of refrigerant can be dangerous. It can cause frostbite and other health issues.
- System Damage: Incorrectly adding or removing refrigerant can damage your heat pump.
The following is the step-by-step process that professional HVAC technicians use for checking refrigerant levels in a heat pump.

1. Gather Necessary Tools
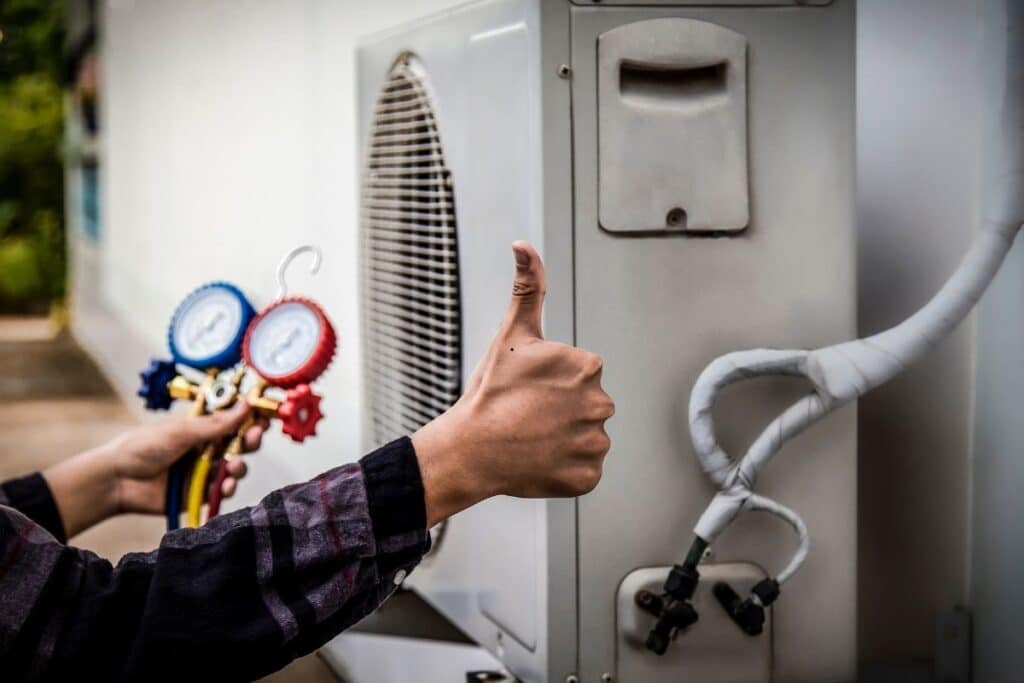
- Manifold gauge set
- Digital thermometer
- Infrared or clamp-on pipe thermometer
- Safety goggles and gloves
- HVAC certification (if you’re handling refrigerant, as required by law)
2. Turn Off Power to the System
Shut off power at the breaker box to ensure safety while attaching tools to the heat pump.
3. Connect the Manifold Gauge Set
- Attach the blue hose to the low-pressure (suction) port on the heat pump.
- Attach the red hose to the high-pressure (discharge) port.
Ensure all connections are secure to prevent refrigerant leaks.
4. Turn the System On
- Set the thermostat to either cooling mode or heating mode, depending on the season or what you’re troubleshooting.
Let the system run for 10–15 minutes to stabilize pressures and temperatures.
5. Measure the System Pressures
Observe the pressure readings on the manifold gauge set:
- Low Side Pressure (Suction): This indicates the pressure of refrigerant returning to the compressor.
- High Side Pressure (Discharge): This represents the pressure of refrigerant leaving the compressor.
Compare these readings to the specifications in the unit’s service manual, which vary depending on the refrigerant type (e.g., R-410A, R-22).
6. Check Superheat and Subcooling
- Superheat (for the Low Side):
- Use a pipe thermometer to measure the temperature of the suction line (the larger copper pipe).
- Subtract the saturation temperature (from the manifold gauge) from the suction line temperature.
- The result is the superheat, which indicates how much refrigerant is in the evaporator coil.
- Subcooling (for the High Side):
- Measure the temperature of the liquid line (the smaller copper pipe).
- Subtract the liquid line temperature from the saturation temperature (from the manifold gauge).
- The result is the subcooling, which shows how much refrigerant is condensed in the condenser coil.
7. Evaluate the Readings
- Normal Ranges:
- Superheat typically ranges from 10°F to 15°F (depends on system design).
- Subcooling usually falls between 8°F and 12°F for most systems.
If readings fall outside these ranges, it could indicate low or overcharged refrigerant, restricted airflow, or another issue.
8. Inspect for Refrigerant Leaks
If low refrigerant is detected:
- Check for oily residue on refrigerant lines, connections, or coils, which can indicate a leak.
- Use a leak detector for precise identification of leaks.
9. Take Corrective Action
If refrigerant levels are off, a licensed HVAC technician must adjust the charge by adding or removing refrigerant. Handling refrigerant requires specialized tools and certifications.
Signs Your Heat Pump Might Be Low on Refrigerant
Instead of directly checking refrigerant levels, look for these signs that might indicate a problem:
- Reduced Heating or Cooling Performance: This is the most common symptom. If your heat pump is struggling to heat or cool your home as effectively as it used to, a low refrigerant level could be the culprit.
- Increased Energy Bills: If your energy bills are unusually high, it could indicate that your heat pump is working harder due to a low refrigerant charge.
- Ice Buildup on the Indoor or Outdoor Unit: While some frost on the outdoor unit is normal during defrost cycles in heating mode, excessive ice buildup on either the indoor or outdoor unit can be a sign of low refrigerant.
- Hissing or Bubbling Sounds: A hissing or bubbling sound coming from the unit could indicate a refrigerant leak.
- Longer Run Times: If your heat pump runs for longer periods than usual to reach the desired temperature, it could be a sign of low refrigerant.
What to Do If You Suspect a Refrigerant Problem
If you notice any of the above signs, the best course of action is to contact a qualified HVAC technician. They have the necessary training, tools, and certifications to:
- Accurately Check Refrigerant Levels: They will use specialized gauges to measure the refrigerant pressure and determine if it’s within the correct range.
- Locate and Repair Leaks: If a leak is found, they will locate the source and repair it.
- Properly Charge the System: They will add the correct amount of refrigerant to restore the system’s optimal performance.
Preventing Refrigerant Leaks
While you can’t completely prevent refrigerant leaks, regular maintenance can help:
- Annual Professional Tune-Ups: Schedule annual professional maintenance for your heat pump. During a tune-up, the technician will inspect for leaks, check refrigerant pressure, and ensure all components are working correctly.
- Promptly Address Any Issues: If you notice any unusual noises, reduced performance, or other problems with your heat pump, address them promptly. Small issues can sometimes lead to larger problems, including refrigerant leaks.
Key Takeaways:
- You should not attempt to check refrigerant levels yourself.
- Look for indirect signs like reduced performance, increased energy bills, ice buildup, or unusual noises.
- Contact a qualified HVAC technician if you suspect a refrigerant problem.
- Regular maintenance can help prevent refrigerant leaks.
By understanding these points, you can ensure your heat pump operates efficiently and reliably for years to come. Remember, when it comes to refrigerant, it’s always best to leave it to the professionals.


