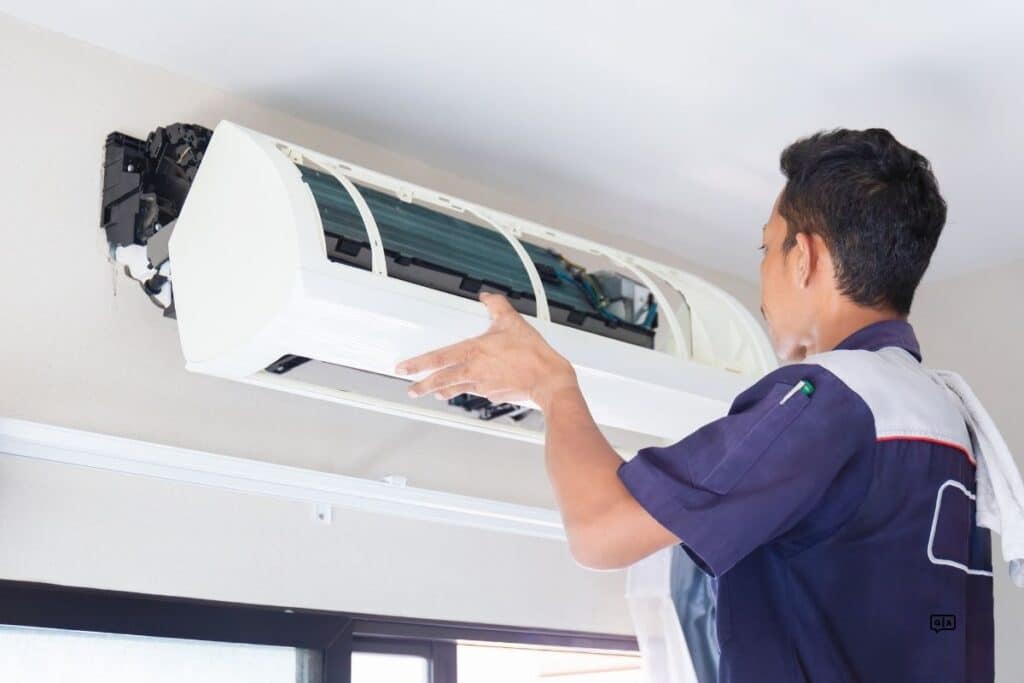
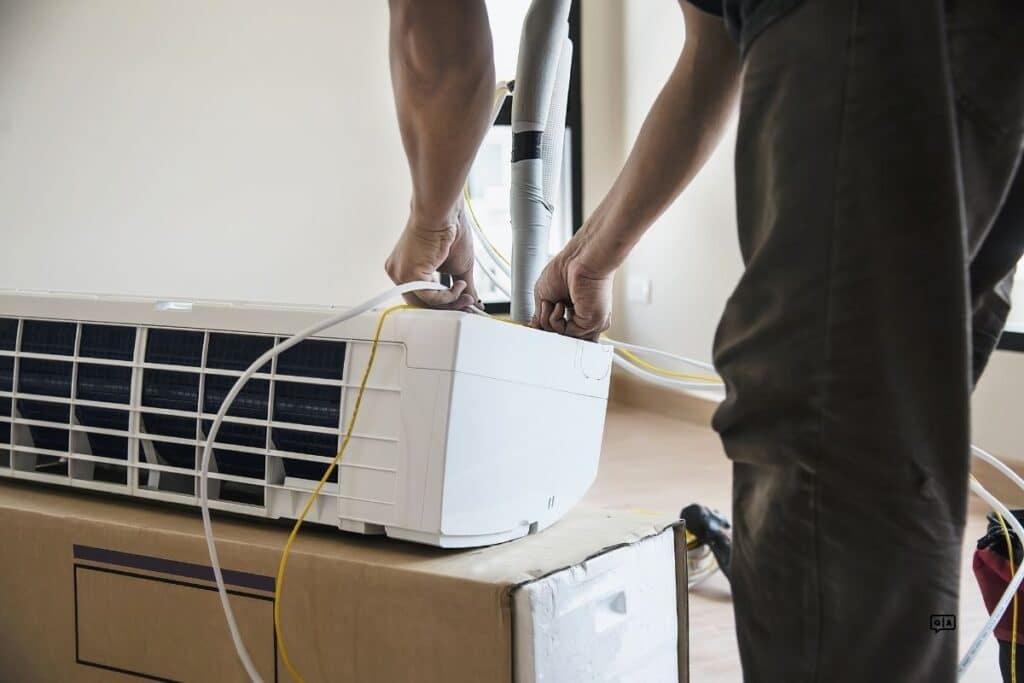
Removing a wall-mounted air conditioner from its sleeve is a process that requires careful attention to avoid damaging the unit, sleeve, or wall. Wall-mounted AC units are typically installed in a sleeve that supports and secures the unit within the wall. Below is a step-by-step guide to help you safely and effectively remove your wall-mounted AC unit from the sleeve.
Tools You’ll Need:
- Screwdriver or drill with appropriate bits (usually Phillips head)
- Work gloves
- Utility knife (optional, for caulk or sealant)
- Towels or cloth (to protect the floor)
- Assistance (optional but recommended, as the unit can be heavy)
Step 1: Turn Off and Unplug the Unit
- Turn Off the AC: Turn off the air conditioner using its control panel.
- Unplug from Power: Disconnect the power cord from the wall outlet. In some cases, the AC unit may be hardwired, so you should turn off the circuit breaker associated with the unit for safety.
Step 2: Remove the Front Cover or Grille

- Locate the Front Cover: Most wall-mounted AC units have a front cover or grille that snaps or screws onto the front.
- Remove the Cover: Depending on the model, you may need to either unscrew the cover or gently pry it off with your hands. Some covers snap off easily, while others may require a screwdriver. Remove any screws carefully and set them aside.
- Detach the Cover: Pull the front cover away from the unit and place it in a safe spot after loosening any attachments.
Step 3: Detach the AC Unit from the Sleeve
- Inspect for Securing Screws or Brackets: Some wall-mounted AC units are secured to the sleeve with screws or metal brackets. Look along the sides and bottom of the unit inside the sleeve to see if any screws or brackets are holding it in place.
- Remove Screws or Brackets: If you find securing screws or brackets, carefully unscrew them using a screwdriver or drill. Place the screws and brackets in a safe place so you can reattach the unit later if needed.
- Check for Additional Fasteners: Occasionally, additional fasteners or clips may be securing the unit to the sleeve. If present, carefully release these to ensure the unit is fully detached from the sleeve.
Step 4: Break the Seal (if applicable)
- Inspect the Edges for Caulk or Sealant: Some units may have caulk or sealant around the edges to prevent drafts and leaks. If you see any sealant, use a utility knife to carefully cut through it, separating the unit from the sleeve.
- Ensure All Seals are Broken: Run the utility knife along the edges, checking all sides to ensure the sealant is completely separated. This will allow for a smoother removal process.
Step 5: Carefully Slide the AC Unit Out of the Sleeve
- Prepare the Area: Place a towel or cloth on the floor to protect it from drips or debris that may fall when removing the unit. If possible, have someone assist you, as these units can be heavy.
- Grip the Sides of the AC Unit: With a firm grip on both sides, gently pull it toward you, sliding it out of the sleeve. Take your time; pulling too quickly can cause the unit to get stuck or damage the sleeve or wall.
- Support the Unit as You Pull: Continue pulling slowly, ensuring the unit remains level to avoid tipping forward. If the unit is very heavy, having an assistant to help support the weight as you remove it is a good idea.
- Place the Unit on a Flat Surface: Once removed, place the unit on a flat, stable surface to avoid damaging any components.

Step 6: Clean the Sleeve (Optional)
If you’re removing the AC unit for cleaning or replacement, take the opportunity to clean out the sleeve. Dust, debris, and even small insects can accumulate inside the sleeve over time. Use a vacuum with a brush attachment to remove loose dirt, and wipe down the interior with a damp cloth if needed.
Step 7: Cover the Sleeve (if Removing Permanently)
If you permanently remove the AC unit, consider installing a cover over the empty sleeve. Specialized covers for wall sleeves protect against drafts, pests, and moisture. Follow the manufacturer’s instructions to securely attach a cover to the sleeve.
Tips and Warnings
- Handle with Care: Wall-mounted AC units can be heavy and unwieldy. Use proper lifting techniques to avoid straining your back or dropping the unit.
- Get Assistance: If the unit is too heavy or awkward to handle alone, enlist the help of a friend or family member.
- Securely Reinstall: If you plan to reinstall the AC unit later, ensure all screws and brackets are kept safe, and the unit is reattached securely in the sleeve to prevent it from shifting.
- Follow Manufacturer Instructions: Refer to your air conditioner’s manual for specific instructions on removing it from the sleeve. Different models may have unique fastening methods or requirements.
Following these steps will help you safely remove a wall-mounted AC unit from its sleeve, whether for seasonal maintenance, cleaning, or replacement.


